Another grilling post from Ken… enjoy!
**********************
Readers of the blog know that the Josie Girl spends her summers in Oregon with the kids at her parents’, and I make the longest summer commute in the world back and forth as much as I can. In addition to spending much of my summer on redeyes, and at wonderful transfer hubs including, SFO, SLC, DEN, SEA, and PDX, I also get to contribute to my wife’s lifestyle blog by grilling sometimes healthy meals. Good times! Enjoy the latest… Grilled Kale.
This recipe is an adaptation of a recipe on Rachael Ray.
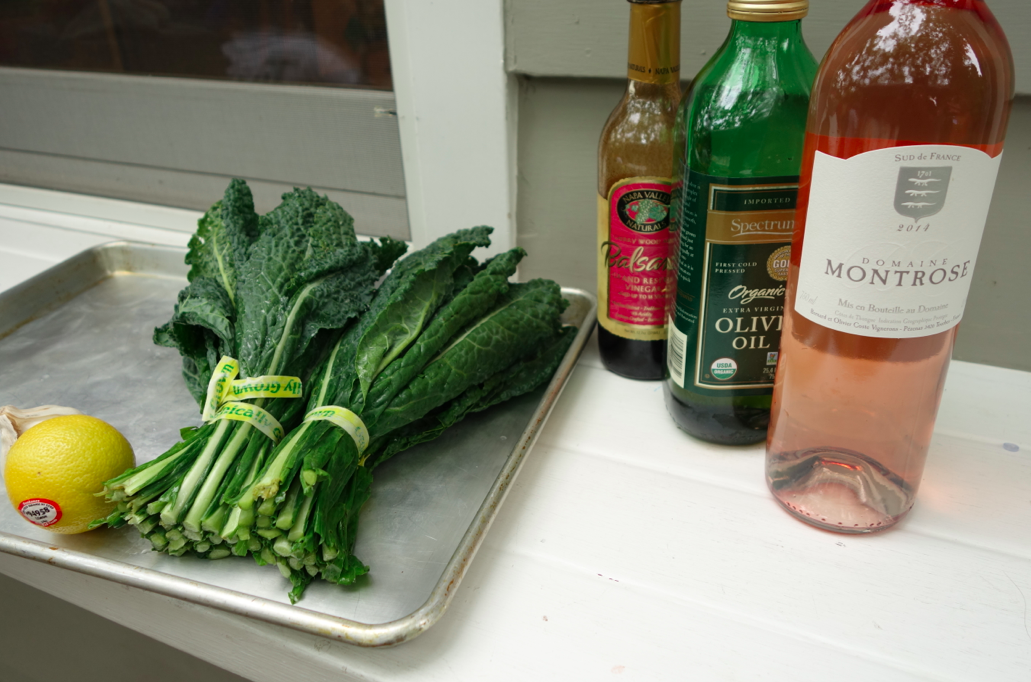
From left to right, the ingredients:
* 2 cloves of garlic (hidden)
* 1 lemon (using juice, and zest)
* 2 bunches of Tuscan kale (also called “Italian Kale”.. see more below)
* 2 tablespoons of balsamic vinegar
* 3/4 cup of olive oil (different than recipe)
* 1 bottle of rose (not part of the recipe… but if you’re a guy and grilling kale, you have already lost all semblances of manhood… so you might as well enjoy some rose while you’re at it).
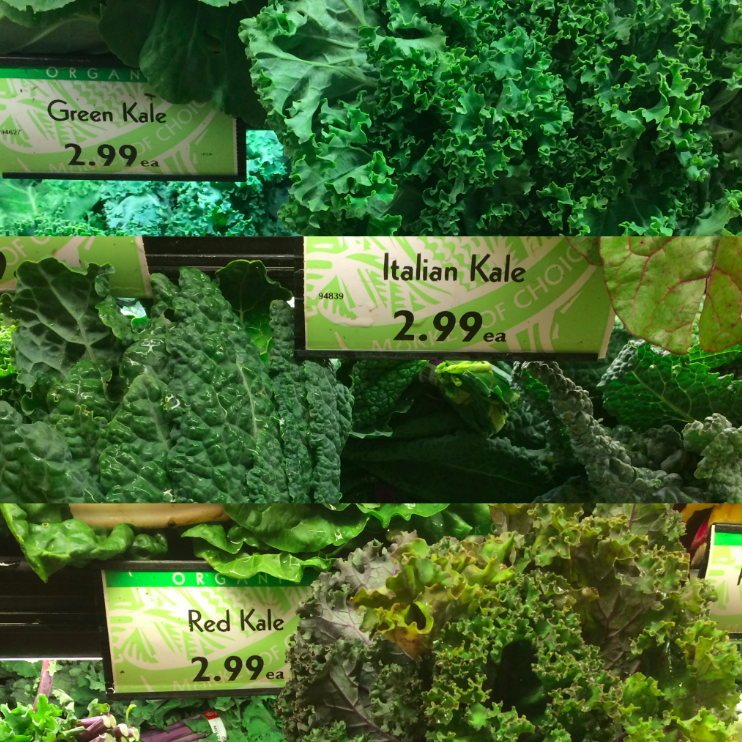
Sidenote 1: Shopping for kale can be overwhelming, especially if you’re in Oregon. Italian kale (also called Tuscan kale) is the flat one, and definitely the best for grilled kale.
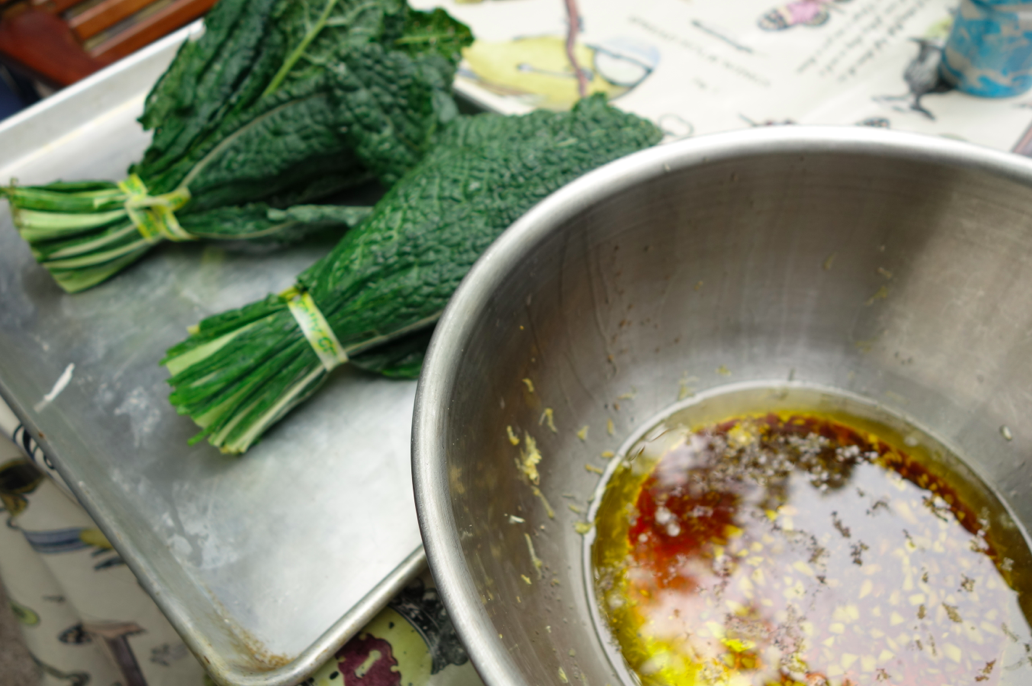
In a large bowl, mix two minced garlic cloves, the oil, vinegar, lemon zest, and juice from the full lemon. The bowl looked much neater before I dropped the lemon in it as I was squeezing it.

After washing the kale and spinning it dry, mix it in the oil/vinegar/lemon/garlic mixture vigorously. You have to get in there with your hands to make sure both sides of each kale leaf is covered.
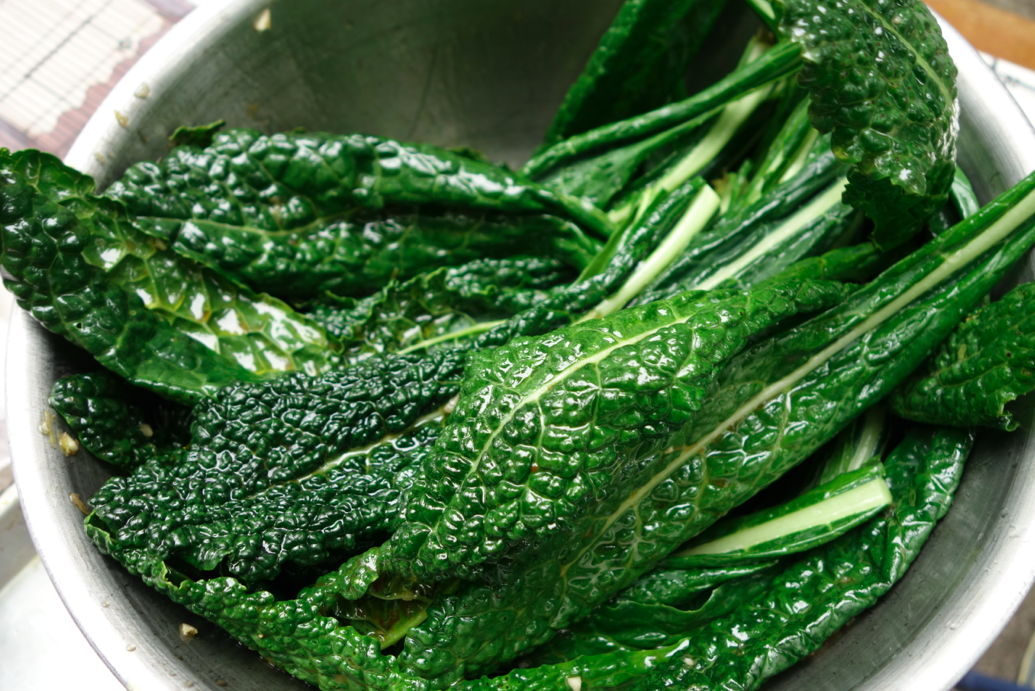
Close-up. Ready for the grill.
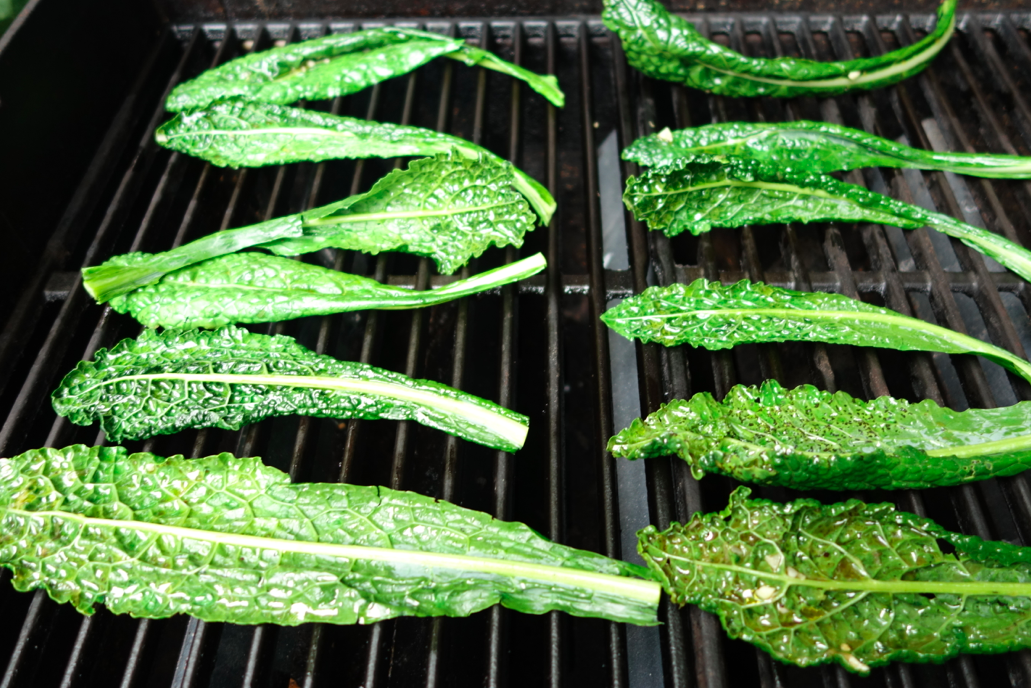
Warm up the grill on high heat. After a couple of minutes (make sure the grill is hot), lay out your first batch of kale. The recipe says 2 minutes on the first side, but I found you need at least 3 to get a good initial crisp on the initial side. Obviously, grill temperatures vary, so judge accordingly.
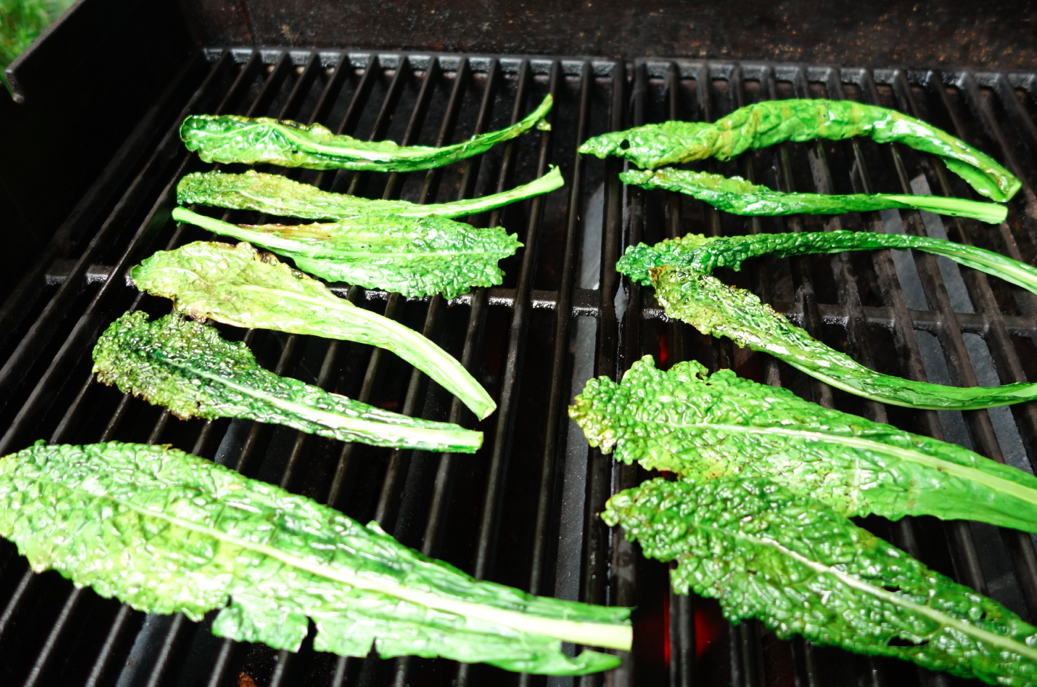
Flip when you see a little brown/crisp on the first side. Go about 1/2 to 2/3 as long on the second side (but use your judgment).
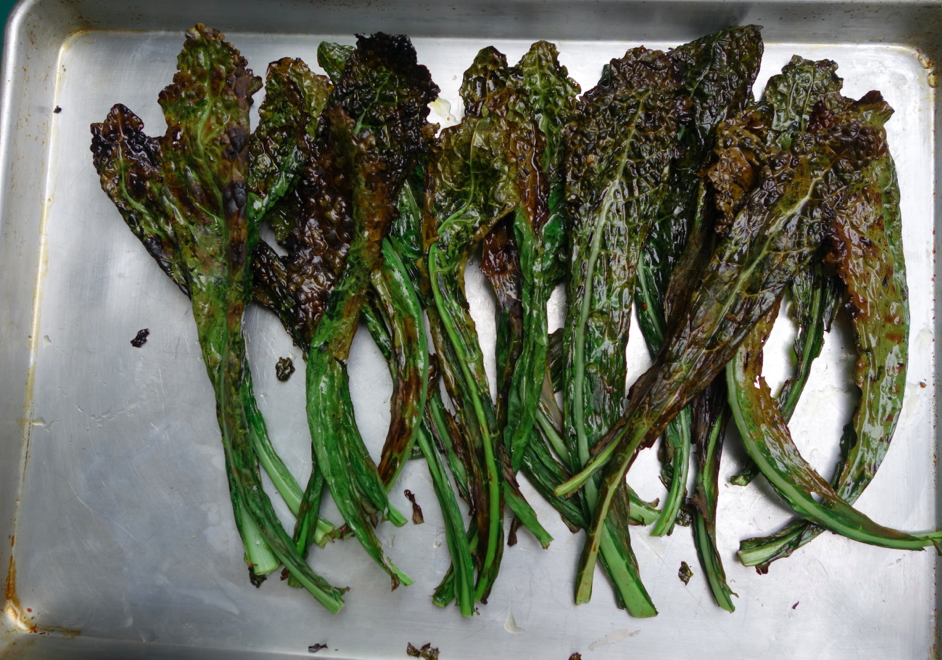
Once you get a nice brown crisp on both sides, pull from the grill. If there is excess oil on the kale, pat it down.
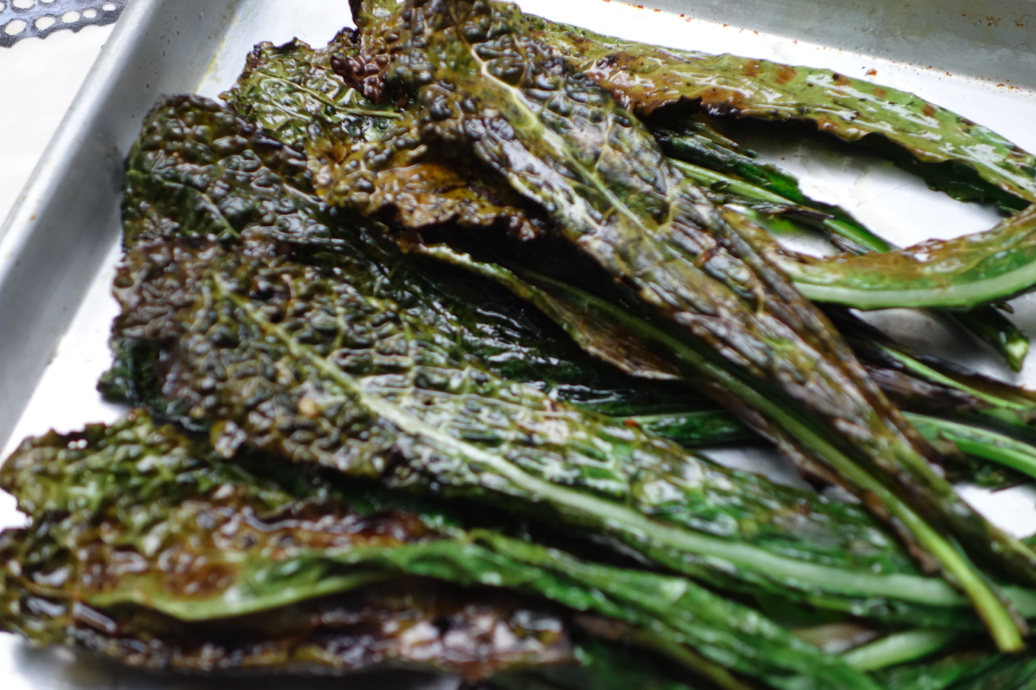
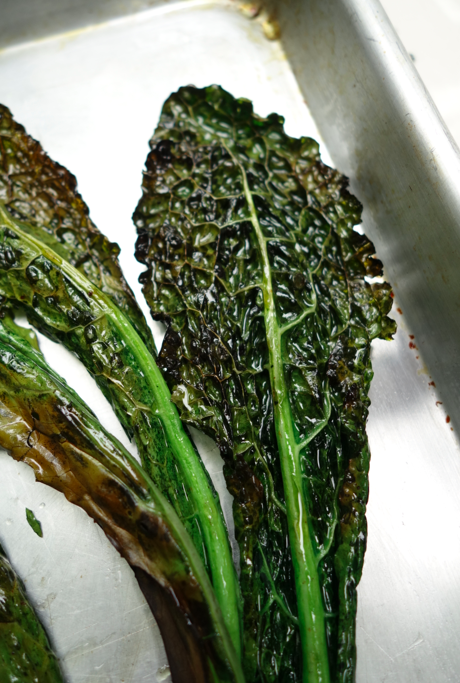
Finished product. I enjoyed the stems, but the jury was mixed. If you are serving this, you may want to have a side plate for people to dispose of stems if they don’t like them. If you want, you can even de-stem the kale leaves or toss out the particularly stemmy leaves. Your call.
Pretty… if you’re into that sort of thing. This is about 1/2 the yield (it took about 4 runs of the grill to cook the full amount, and there was lots of munching going on after each round. Surprisingly popular with the kids.)
Enjoy! Other grilling recipes (some Josie Girl-ish healthy, and others Josie Guy-ish tasty), if you’re interested, are below.
-Ken
These are so expensive to buy. Will definitely have the hubby give it a shot. Have a good weekend!
These look great!
Oh fancy, healthy chips!
Ha! I like how the rose was thrown in there. These look great.. I would also try topping with some parmesan.